First start
The setup assistant#
On the first launch an assistant sits on top of the start screen. It has five steps and takes less than two minutes.
- Choose the language — the language of the booth. It can be changed at any time; which languages guests are offered is set separately, per event.
- Build type — photo booth or photo mirror. For the photo mirror, the camera is rotated by 90° and the live view mirrored right away; more under Photo mirror.
- Admin access — the assistant shows where the admin area is: behind a hidden area at the bottom left of the screen, marked by a blinking dot. The factory PIN is 0000.
- What happens next — a pointer that the real setup happens in the admin area.
- Licence — either a licence key or the free trial with the full feature set. Without an active licence or trial no capture can be started. Both can be sorted out later under "System Settings" > "License management".
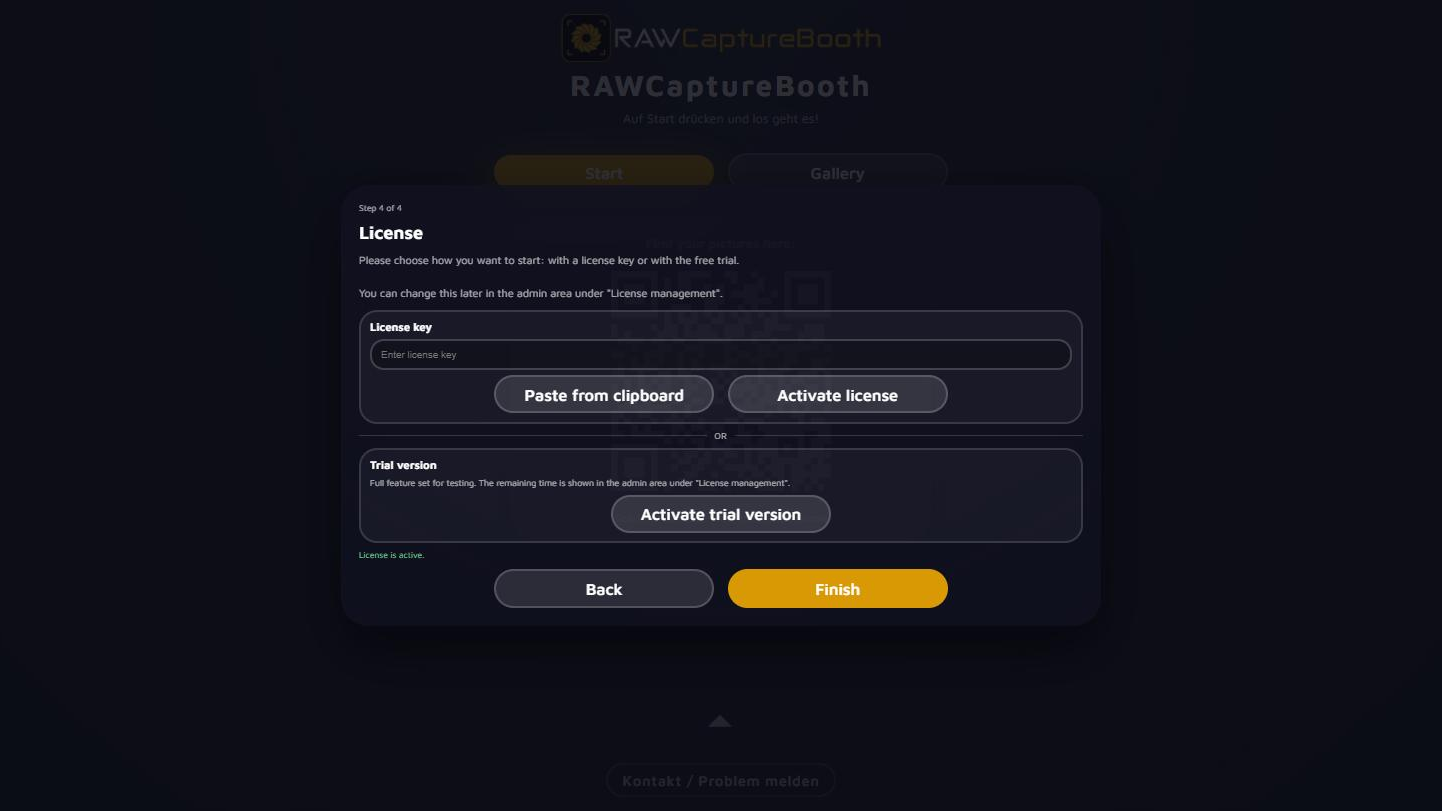
"Finish" closes the assistant; it does not come back.
The blinking dot stays in the bottom left afterwards, together with a speech bubble naming the way into the admin area and the factory PIN. Both disappear once the admin area has been open for the first time.
Into the admin area#
- Tap the hidden area at the bottom left of the screen, where the dot blinks.
- Enter the PIN (factory default 0000).
"To Photobooth" at the top leads back to the guest view.
The guided tour#
The first time the admin area opens, it offers a short tour: menu, search, favourites, automatic saving and event management. It can be ended at any time and started again later.
It is worth taking, mostly because of the menu structure. The menu is split into three blocks, and the difference decides where a setting lives:
| Block | Colour | Contents |
|---|---|---|
| Event management | Accent colour | Creating, loading and backing up events; presets; customer configuration |
| Event settings | Green | Everything belonging to the individual party, travelling with an event switch |
| System and device settings | Purple | Everything attached to this booth: camera, printer, accounts, licence |
Above them sits "Favorites": the star in the header of each area puts it there — handy for the handful of areas touched before every party.
Directly below sits "News" with posts about RAWCaptureBooth. A pulsing dot there shows that something has been added since the last visit.
The setup list#
"System Settings" > "Setup" walks through everything that has to be done once per device. The order follows the way through the setup: first make the device operational, then connect the hardware, then decide the routes the pictures take to the guest — and last the first party. What the booth can detect it ticks off itself; everything else is ticked with "Done". "Go to setting" jumps straight to the matching area.
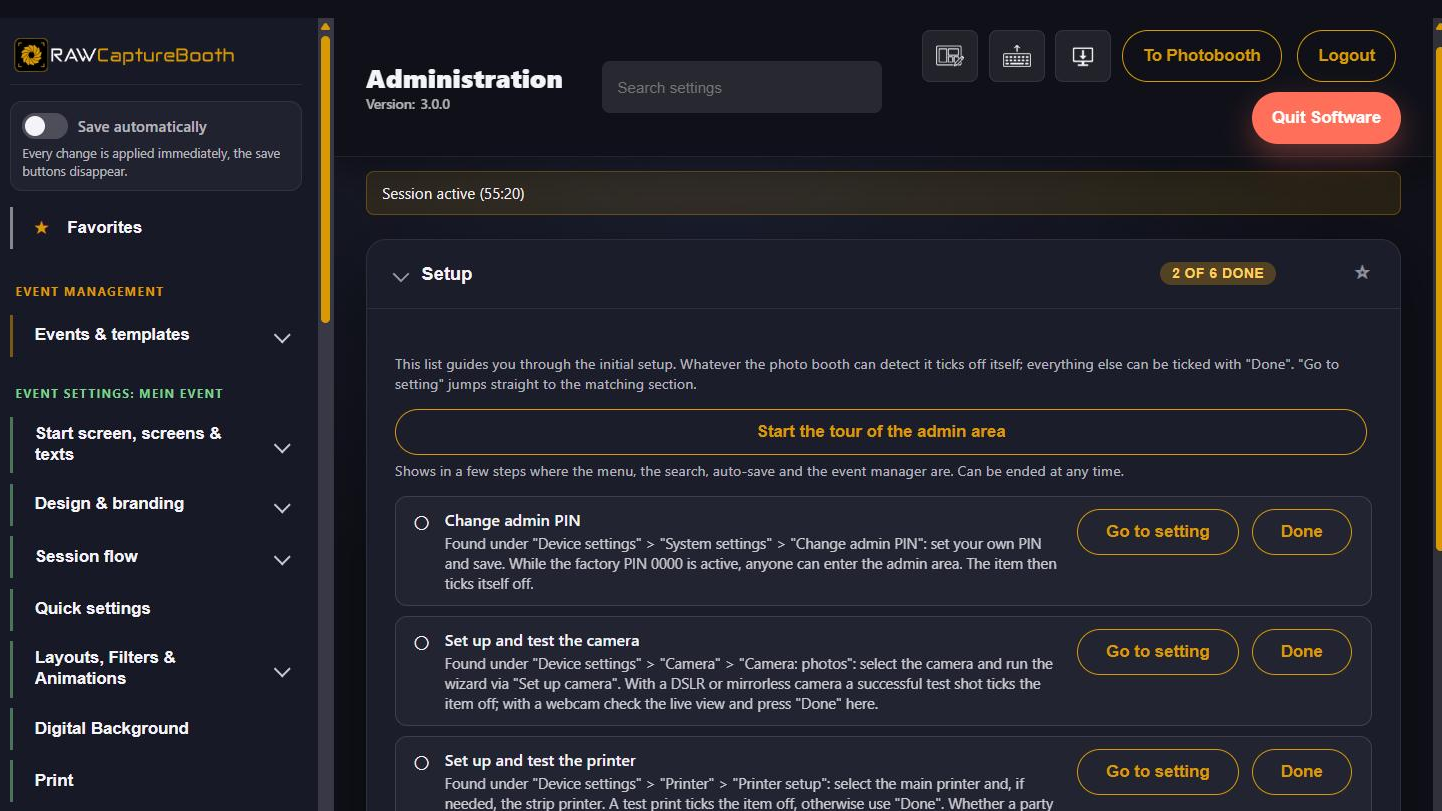
The eight items:
- Activate licence — without an active licence or trial no capture can be started. While the trial runs, the item counts as done and points out that a key can be added at any time.
- Change admin PIN — ticks itself once saved.
- Prepare Windows for photobooth operation — switch off edge swipe gestures and make sure in the power options that neither the screen nor USB devices are turned off. The easiest way is the free "FST" tool from the download area of the website; it converts Windows in one go. Then press "Done".
- Set up and test the camera — on DSLR and mirrorless cameras a successful test shot ticks the item. See Setting up the camera.
- Set up and test the printer — a test print ticks the item. If printing is switched off entirely, the item disappears. See Setting up the printer.
- Add an email account — server, login and sender address of the outgoing mail under "Access & accounts" > "Mail access (SMTP)". As soon as server and sender are set, the item ticks itself. The access applies to all events; whether a party sends pictures by email is set with the event. See Cloud and e-mail.
- Set up a cloud service — sign in to a Dropbox, Google Drive, pCloud or Nextcloud account or enter the address of your own server, under "Access & accounts" > "Cloud account". The account applies to all events too; which service a party uses is set with the event. See Cloud and e-mail.
- Create the first event — see Your first event.
What comes next#
Camera, printer and the accounts for mail and cloud belong to the device and are now done. Everything else — layouts, start screen, print permission, gallery, QR codes — belongs to the individual party and is set up in the event.