Setting up the camera
Found under admin area "System and device settings" > "Camera". The camera belongs to the device: it stays set up no matter which event is loaded.
There are two separate areas — "Camera: photos" and "Camera: boomerang". Both can use the same camera or different ones, for instance a DSLR for photos and a webcam for the boomerang. GIFs are photo series and are taken with the photo camera. The button "Copy from photo camera" saves setting everything twice.
Camera type#
| Type | Used for |
|---|---|
| DSLR / DSLM | DSLR and mirrorless cameras from Canon, Nikon and Sony. Built-in driver, no extra software |
| Webcam (MediaStream) | Simple USB webcams |
The camera assistant#
Setup runs through the button "Set up camera". The assistant asks for manufacturer and connection, checks the link with a test shot and then asks when the camera should focus and which exposure suits the setup. The waiting times only appear when the test shot does not get through. Nothing is stored until you finish with "Apply & save".
- Connect the camera by USB, switch it on and set it to M (manual).
- Insert a memory card — even with direct transfer to the PC, some models insist on a card.
- Open "Camera: photos" in the admin area, start "Set up camera" and follow the steps.
- Finish with "Apply & save".
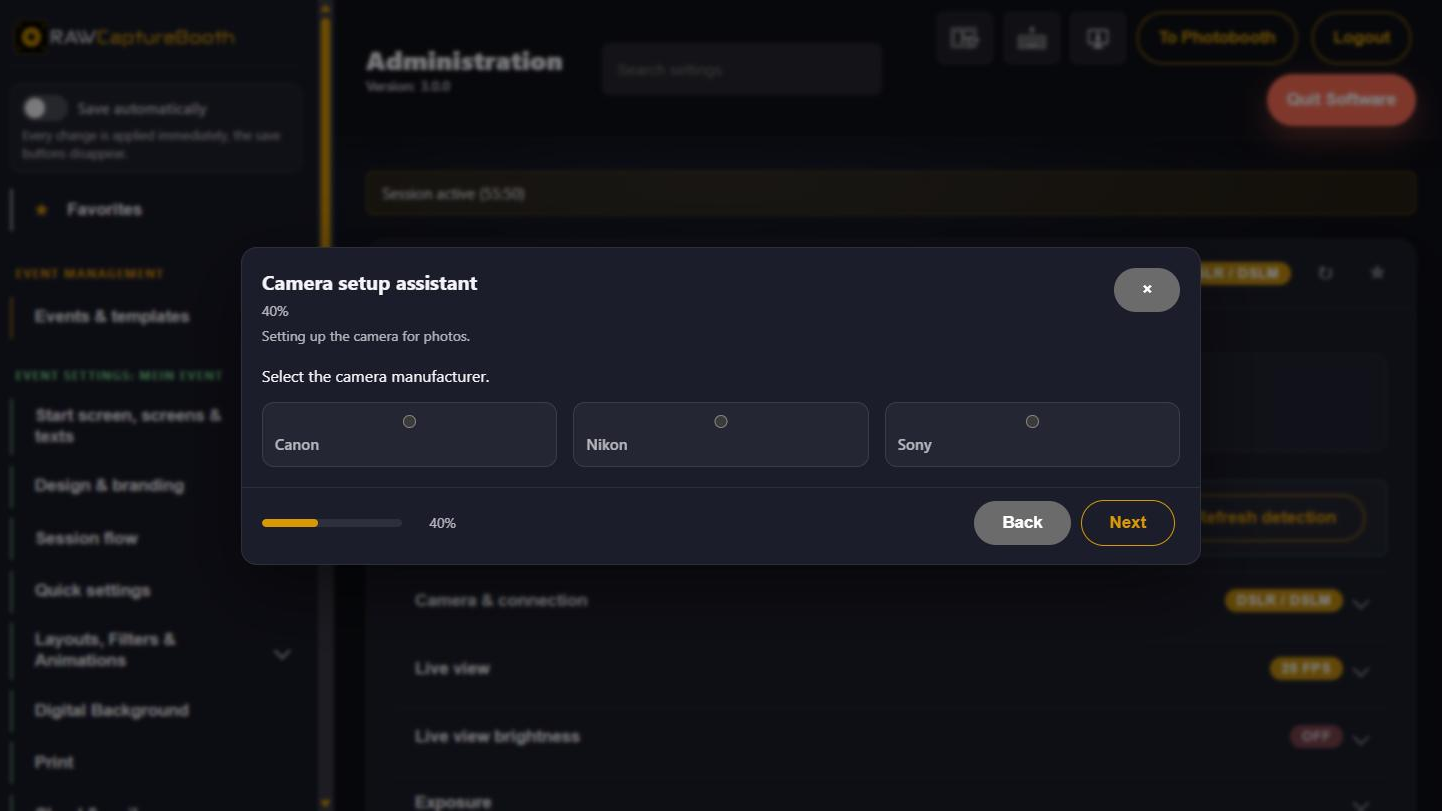
For Canon cameras the assistant enables extra drivers (EDSDK) and asks for a restart of the application. That is normal.
Checking detection#
The "Detected camera" section shows what the software currently sees — model and serial number. "Refresh detection" repeats the search, for example after switching the camera on.
With several identical cameras connected, "Select a specific camera" decides which one is meant (by serial number, port or model).
If the camera reports its battery level, it is shown as well. Below 25 percent a note asks for a battery change or a charge; the status mail mentions it too. With a mains adapter attached it says "Mains power" instead of a percentage — and no warning.
Mounting the camera in portrait orientation#
If the camera sits on its side - upright on a tripod or upside down under a ceiling mount - its picture comes out sideways. The "Rotate camera image" selection in the "Camera & connection" subsection puts it upright again.
| Selection | When it fits |
|---|---|
| Do not rotate | The camera sits level, as usual |
| 90° clockwise | The top of the camera points to the right |
| 180° | The camera hangs upside down |
| 90° counterclockwise | The top of the camera points to the left |
Which of the two 90° options fits shows up in the live view right away: if the picture ends up the other way round, it is the other one.
The rotation applies to the live view and to the finished shot. Layout, gallery, mail, cloud and print all receive the already rotated picture. If mirroring is switched on as well, it applies to the upright picture.
The photo camera and the camera for the boomerang are set separately - two different cameras can be connected there. Once a rotation is set, the angle appears in the badge of the "Camera & connection" section.
Most DSLR and mirrorless cameras have an orientation sensor. They do not rotate the picture themselves, but they record the position in the file - and the photo booth reads that record everywhere. With such a camera the shot is already upright before the setting takes effect; the rotation is then not applied a second time and only affects the live view. If the sensor is missing or switched off in the camera menu, the photo booth rotates the picture itself. Both cases use the same setting - it describes the mounting, not the work.
A note on upside-down mounting: many cameras only report a sideways tilt, not upside down. At 180° the setting therefore usually carries it alone.
RAW files stay exactly as the camera wrote them; they carry the orientation inside the picture itself.
Test shot and live view#
- "Show LiveView" opens the camera image inside the admin area, with grid and mirroring for alignment.
- A successful test shot ticks the item "Set up and test the camera" in the setup list.
- A webcam has no test shot in the strict sense; checking the live image is enough, and the item is ticked by hand.
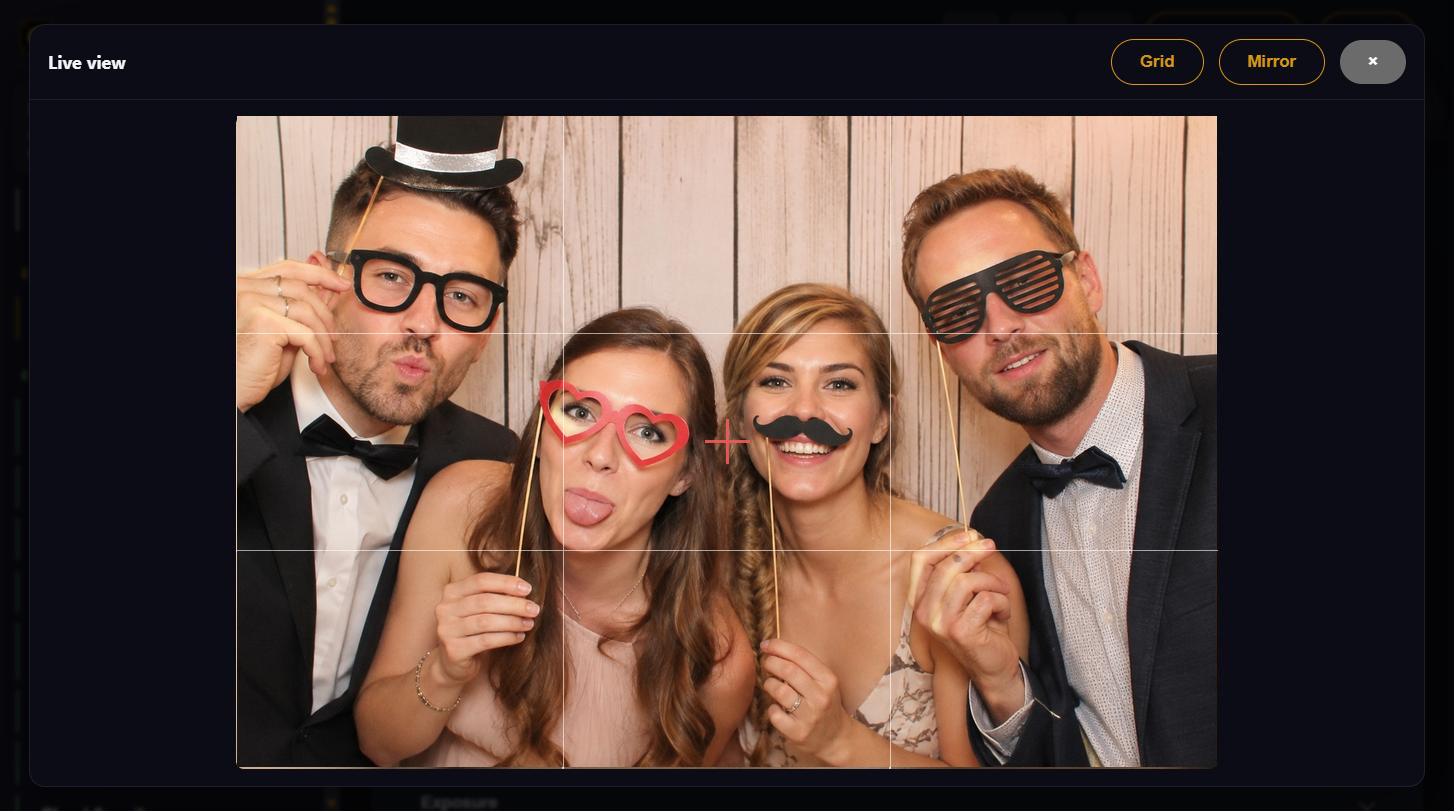
Showing the photo slots in the live image#
The sub-area "Photo slots in the live image" holds the choice "Show the layout photo slots in the live image". It decides whether guests see how many photos are still to come before the shot. The badge in the header names the chosen representation.
| Choice | What happens on screen |
|---|---|
| Do not show | Only the live image, as without a layout |
| Whole layout to scale | The complete layout at original size: the live image sits in the current photo slot, finished slots show their photo |
| Strip along the left edge | The live image stays large, one tile per shot sits along the left edge |
| Strip along the right edge | The same strip, only on the right |
In the strip each tile first carries its number. As soon as the photo is taken, the tile shows it, and the tile of the current photo is highlighted. The strip is semi-transparent and sits on top of the live image. If the layout uses a photo more than once - photo 1 twice, for example - it still appears only once in the strip; the scaled representation shows every photo slot.
Two further fields belong to the strip and only appear with a strip:
- "Hide the strip after" in seconds. With 0 it stays in place. Otherwise it withdraws after the set time and returns for every new shot.
- "How it disappears" - slide to the side or fade out gently.
The same area holds "Photo slot of the layout in the live preview". It determines what the live image shows of the single photo slot: cropped to the slot, the whole live image with dimmed edges, or no marking at all. With the scaled representation there is no edge that could be dimmed - the setting has no effect there.
Filters and digital backgrounds are not visible in either representation; they only arrive with the finished image processing.
Live view exposure#
There are two ways to brighten the live view. Each has its own section, and the difference matters:
- "Set in software" brightens only the image the software displays. The camera is left alone, it works in every camera mode and never affects the finished photo. On mirrorless cameras this is often the only option.
- "Set on the camera" puts the camera on fixed values for the duration of the preview — a shutter speed and an ISO, both configurable in the same section. The original exposure is restored right before the shutter fires, so the flash shot stays correct.
With flash settings such as 1/160 s, f/9 and ISO 400 the live view is almost black; the camera route helps there. Cameras that never show an exposure preview in live view (common on entry-level models) will not react to it — then the software route remains.
On Canon: switch off the exposure preview#
The target-value route has a limit: the shutter speed must not get longer than one frame of the configured frame rate, otherwise the preview stutters. With flash settings the live view often stays too dark because of that. The ISO value carries the remainder.
On Canon cameras there is a second, far more effective switch for this: "Switch off the exposure preview on Canon". During the preview the shutter speed is then set to "Bulb". The camera can no longer simulate the exposure and controls the live view itself - the result is a bright, clearly visible image regardless of aperture and ISO.
The switch only works in camera mode M and only on cameras that accept Bulb. Before every capture the shutter speed is restored and confirmed; if that fails, it is tried again next time. It is switched off by default.
Whether a camera accepts the values at all is answered by "Check the effect on the camera". It sets a test value, reads it back and restores it immediately. If the camera accepts it but does not show it in the live view, that is the awkward case: the camera is being changed without anyone seeing it. Common on entry-level Nikon bodies.
Capture exposure#
The fields for aperture, shutter speed, ISO, exposure compensation and white balance show what the camera is currently set to. Every change goes straight to the camera — there is no save button here. The values are read automatically when the section is opened; "Read values again" fetches them anew if someone has turned a dial on the camera in the meantime.
Nothing is stored here. The camera keeps its settings itself; a value held in the software could go stale without anyone noticing - and whoever sees it then takes it for the camera's state.
What the mode dial allows. The camera detection and the header of this section name the mode the camera's dial is set to. Whatever the camera chooses itself in that mode is greyed out; the reason is shown underneath.
| Mode | Adjustable | Chosen by the camera |
|---|---|---|
| M | Aperture, shutter speed, ISO, white balance | – (exposure compensation has no effect here) |
| Av / A | Aperture, ISO, exposure compensation, white balance | Shutter speed |
| Tv / S | Shutter speed, ISO, exposure compensation, white balance | Aperture |
| P | ISO, exposure compensation, white balance | Aperture, shutter speed |
| Full auto, scene modes | – | All values |
With flash, M is the usual choice. With continuous light of changing brightness, Av/A with exposure compensation is often the calmer choice: the camera evens out the brightness, the compensation only shifts the overall tone.
Before every preview the booth remembers what is set on the camera and restores exactly that afterwards. If restoring fails once, the remembered value is kept and used again next time — so the exposure cannot creep upwards over the course of a long party.
Calculate a suggestion#
If you do not know which values suit your setup, describe it: light source, ambient light, distance to the guests, number of people, movement in the frame and whether low noise or brightness matters more. The booth suggests aperture, shutter speed and ISO, explains the choice, names what to watch out for and how to fine-tune after the test shot. The button writes the suggestion into the fields above.
Autofocus#
- "When the camera focuses" — three positions:
- "Shortly before the shot": The photo booth triggers the autofocus itself and only releases the shutter once focus is confirmed. The more robust choice in low light. On Canon with a persistent connection this already happens towards the end of the countdown. If a camera focuses too slowly in live view (older Canon SLR cameras such as the EOS 1100D), the photo booth switches the setting to "At the moment of the shot" by itself.
- "At the moment of the shot": Focusing is left to the camera. Fastest, but more prone to blurred images in the dark. The factory setting.
- "Manual focus": No autofocus command. For setups with a fixed focus distance; the lens is then set to manual focus as well.
- "Trigger autofocus before starting live view" — not every camera can do this, and some cannot focus at all while live view is running.
- "Repeat autofocus" — 0 by default, so the camera focuses once at the start of the live view. A value from 2 seconds upwards makes it refocus again and again while the live view runs; helpful when guests stand at different distances, but it loads the connection to the camera. Some cameras cannot cope with it and then stop delivering a live view at all.
Camera colour space#
Digital SLRs offer two colour spaces in their menu: sRGB and Adobe RGB. The factory setting is sRGB, and that is where it should stay for the photo booth — sRGB is the colour space screens, web galleries and photo printers work in.
If the camera is set to Adobe RGB, RAWCaptureBooth detects this from the information in the image and converts the shot before further processing. Print and gallery then show the right colours. Saturated colours that do not exist in sRGB are lost in the process, however, and every shot costs a good quarter of a second more. Switching the camera to sRGB is therefore the better route.
The untouched camera file is kept either way and goes into the raw image upload as it is.
Manufacturer drivers#
| Setting | Meaning |
|---|---|
| Load Canon driver automatically | Recommended. The Canon driver is only loaded when a Canon is actually connected — loading it can disturb other brands |
| Canon: transfer pictures directly to the PC | Faster, no memory card needed. If it fails, capture falls back to the card |
| Canon: persistent camera connection | On by default. Keeps the connection open instead of rebuilding it for every capture |
| Sony: official Sony SDK | On by default, 64-bit edition only. For modern Alpha models; set the camera's USB mode to "PC remote" |
After changing these switches, restart the camera session.
When it does not work#
| Symptom | Cause and remedy |
|---|---|
| No camera detected | Camera off, asleep or claimed by another program. Switch it on, close other programs, "Refresh detection" |
| Live view stays black | Lens cap, camera in an automatic mode with flash settings, or live view disabled on the camera |
| Shutter fires, no picture | The autofocus finds nothing. More light on the subject, choose "Shortly before the shot" or switch to manual focus |
| Camera falls asleep mid-event | Disable the camera's auto power-off and check the Windows power options (see setup list, "Windows") |
| Capture aborts with a timeout | Raise the values under "Time limits". Only touch them if captures actually fail |
| Live view does not start at all | The message names the reason the camera gives — no memory card, weak battery, mirror lock-up, lens without CPU contacts, aperture ring not at the smallest aperture |
| Camera stops responding entirely | On Canon the camera system can hang. After twenty seconds the software says so and asks for a restart — there is no other way out |